Matagi Suji
Today, matagi suji or “straddle suji”! This suji hole is deep, kids…
Before I show you the table of matagi suji, let me explain how it is created. The idea is that a player is likely to keep a shape like 556 together later than other groups because of its relative strength and efficiency (useful as a pair or a finished group).
As they get toward completion, they are likely to move toward a two-sided shape and throw the 5, making the 4-7 dangerous.
They could also have 455 and so discard the 5, making the 3-6 dangerous.
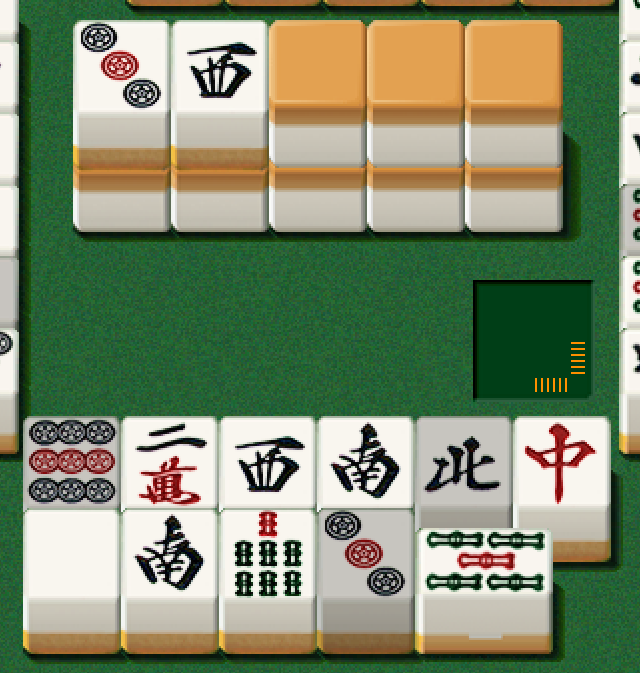
Let’s take a look at the matagi suji table…

Matagi suji are definitely more difficult to conceptualize (at least for me). Basically you take both tiles either side of the discarded tile and suji for both of those tiles which is CLOSEST to the discarded tile you’re trying to read.
This is starting to get difficult to draw up in your mind during the heat and speed of a game but if you’ve got the basic omote suji down, it should start to come to.
(It’s worth noticing here that the 1 and 9 tiles appear less on this suji table - another demonstration of why if you’re totally stuck, go for those tiles first).
Now, because of the nature of a matagi suji’s creation, it can only really be read in the mid to late game (post 6 discards). I would recommend the later the better for this read. Certainly, it becomes a more effective read on a tile used to call riichi and if you want to read it on a mid-game discard, priortize those discards closer to the riichi call. This is due to the nature of its creation — a tile thrown from a strong shape as the hand reaches its final tempai shape.
Come back tomorrow for more HOT SUJI THEORY POSTS. ;)